fig3
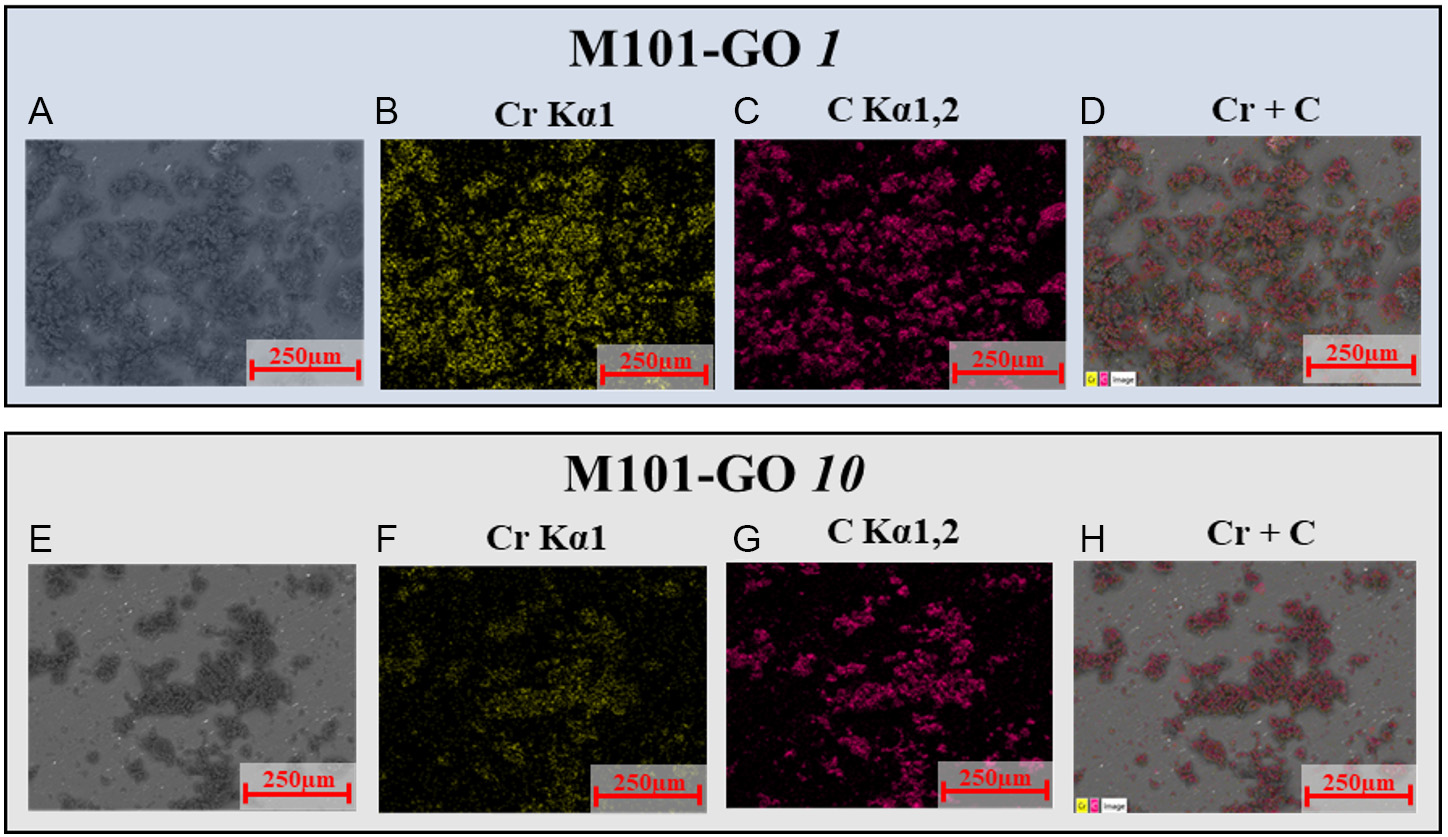
Figure 3. (A) SEM image of M101-GO 1, alongside its (B) chromium; (C) carbon mapping images; and (D) overlap between Cr and C mappings. (E-H) Same as (A-D), but for M101-GO 10.
Figure 3. (A) SEM image of M101-GO 1, alongside its (B) chromium; (C) carbon mapping images; and (D) overlap between Cr and C mappings. (E-H) Same as (A-D), but for M101-GO 10.


All published articles are preserved here permanently:
https://www.portico.org/publishers/oae/